Tech Tips / Use aliases to organise your emails in Gmail
Do you like organisation? Here's some tips on how to make your emails organised.
Hey there. I've known about this for a while, but Gmail has an aliases feature. Basically, for any ‘@gmail.com‘ domain, you can add any alias, and it'll still appear in your email. But with some filters, we can organise it into some labels, which is what we're going to do today.
Part 1: How do I use aliases?
But, how do I use aliases? Unfortunately, you can't send emails from an alias, I'd love to be able to send emails from my sponsorships alias, but I can't. This is the main downside of this unfortunately, along with the fact that you can't create filters on mobile.
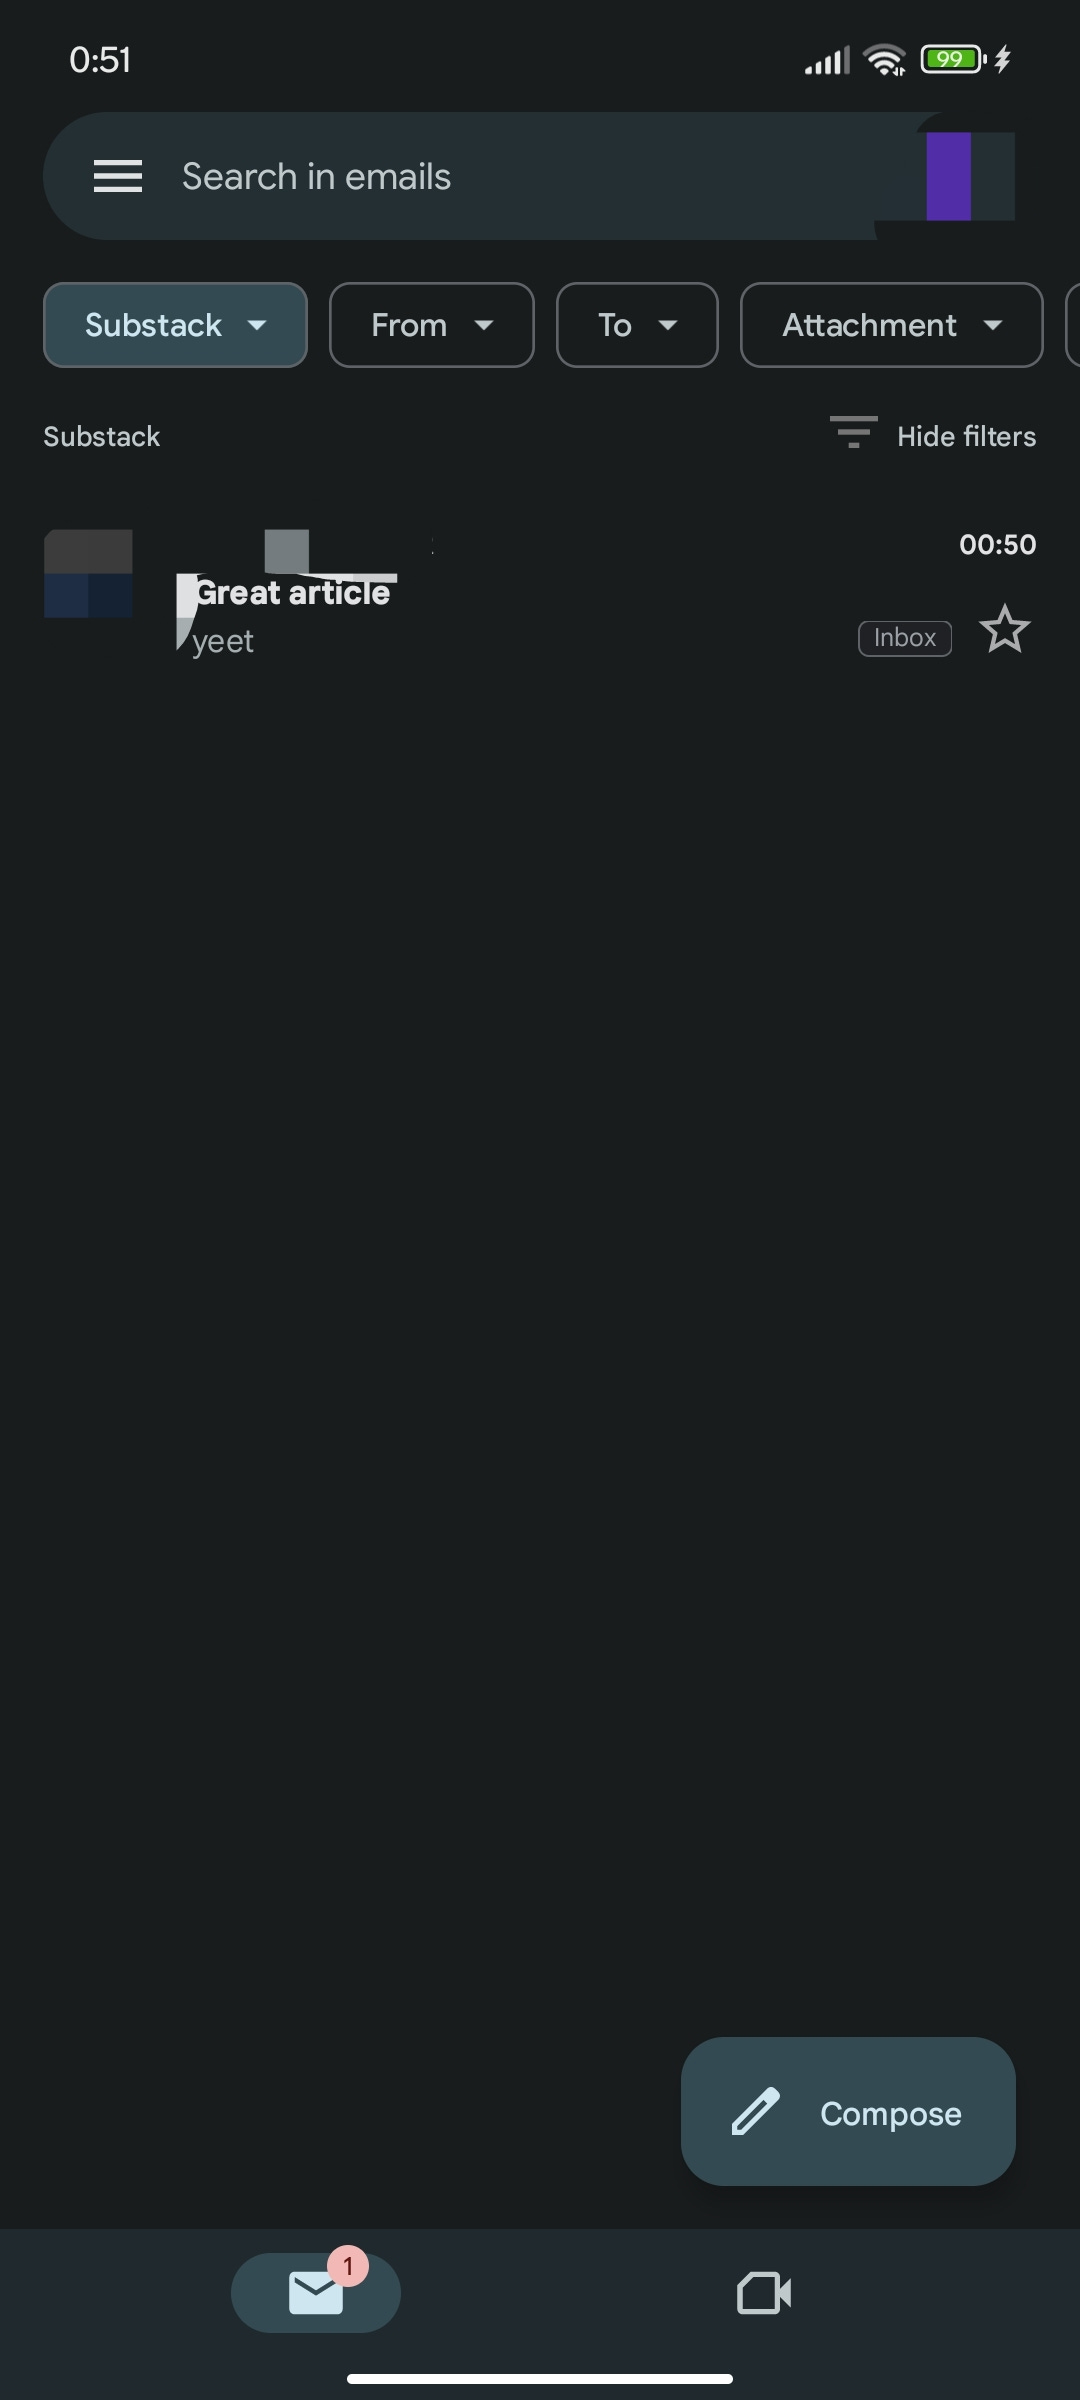
Anyways, to send an email to your alias, using an example of test@gmail.com (or test@googlemail.com if you prefer that lol). After the test part, we add a + symbol to indicate it's an alias, e.g. test+@gmail.com. Now, after that +, you can type the name of your alias, for example test+substackfeedback@gmail.com. If you send an email, it'll arrive in your main inbox, and that's because we haven't categorised it yet. Anyways, let's get on to categorising stuff.
Part 2: Set up labels for your aliases.
Now that you know how to use an alias, let's prepare for part 4 and set up labels for your aliases. From this point, you should be on the desktop site by the way, you can't do anything on mobile.
Go to the website, and look for the Labels section on the sidebar.
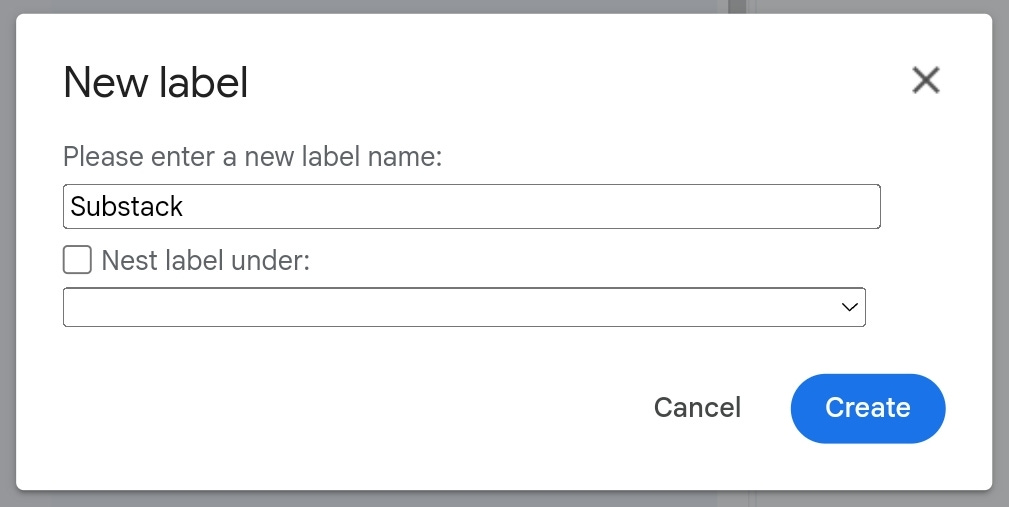
Press the + button and make a nice name that relates to the name you want to call your alias. For example, I'm creating a 'Substack' label to gather feedback from this article. After that, click Create.
Great! We can now proceed onto Part 3, which is completely optional, but it's definitely useful.
Part 3: Set an auto-reply message for an alias.
I'd genuinely argue that this is potentially better than the out of office autoreply feature. Seriously.
Anyways, that's a bit off topic. This part will guide you through making a 'template' in Gmail, which will serve as an auto-reply email when you initially receive a new email. It won't reply to every email, thanks to the fact that the auto-reply email is sent from a canned responses alias, which prevents all of this, which is kinda cool.
Write an email as normal, don't bother with filling out the To field, since we're not sending it anywhere. This will be your auto-reply email for the alias you want to use it on. The subject field also isn't necessary to fill out, but it does transfer over as the template name which is cool. People who email you won't be able to see the subject name by the way, it'll be the subject that they chose when writing an email to the alias that you're making this template for.
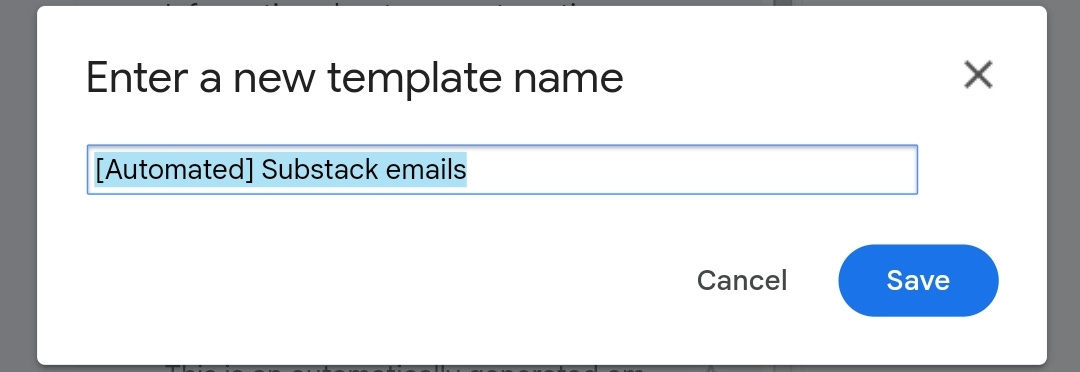
At this point, you want to press the 3 dots at the bottom of the composer window. Hover over 'Templates', then 'Save draft as template' and then click on 'Save as new template'.
Press 'Save' since you likely gave it a name already if you filled out the subject field.
Close the composer window and we can proceed onto the final part.
Part 4: Making it all work.
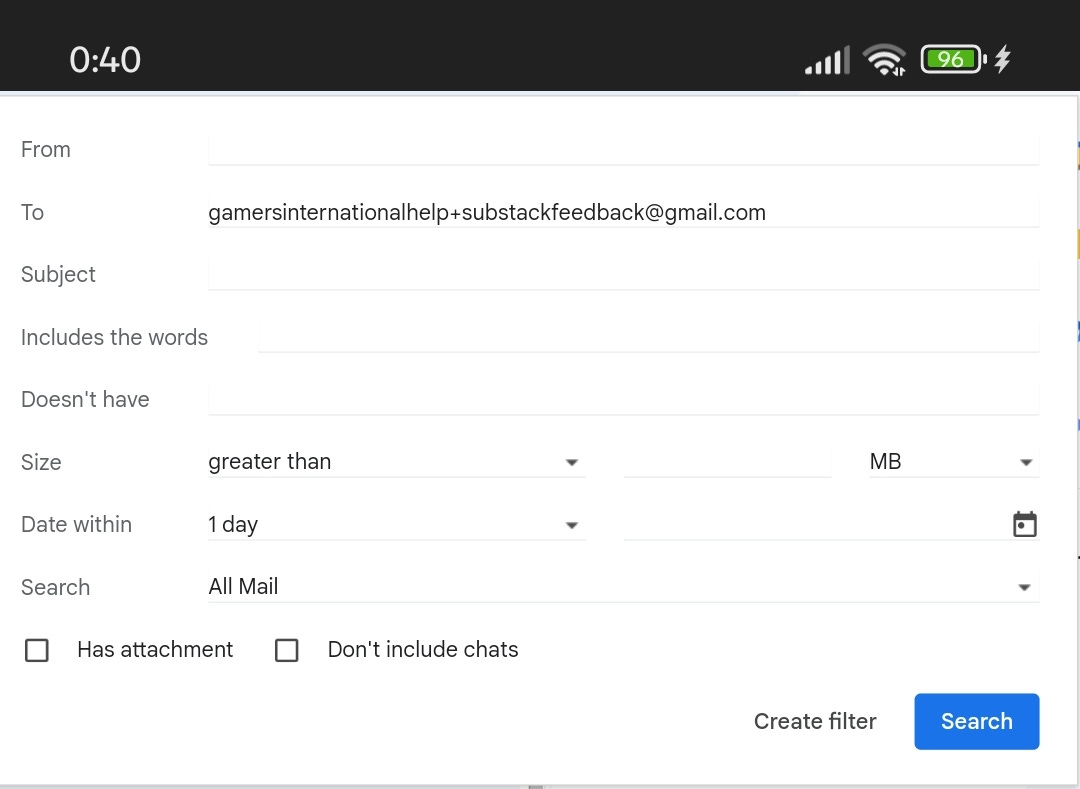
Let's put all our effort from the previous steps and making this all work together now. Click on the toggles option in the search bar, and a window will come up with advanced searching options. In this window, all we want to fill out is the To box with your alias. In this case, I'll be using gamersinternationalhelp+substackfeedback@gmail.com. Now, click the Create Filter button instead of pressing Search.
Use the drop-down box for 'Apply the label' and select the label that you created in Step 2. If you followed step 3, use the drop-down box for 'Send template' and find the template you've used in that step. After that, click Create filter!
You've now set a filter for that alias, and you can now repeat the steps for different aliases you might want to use.
If you ever want to adjust an existing filter after this, head into Settings (on the website) > Filters and blocked addresses. Then, press Edit on the filter you'd like to edit.
If you'd like to edit an existing template after this, go into the Compose menu again, click the three dots > Templates > Click the template you want to edit, and make any changes. Then, simply click on the three dots again > Templates > Save draft as template > Click the template you want to override.
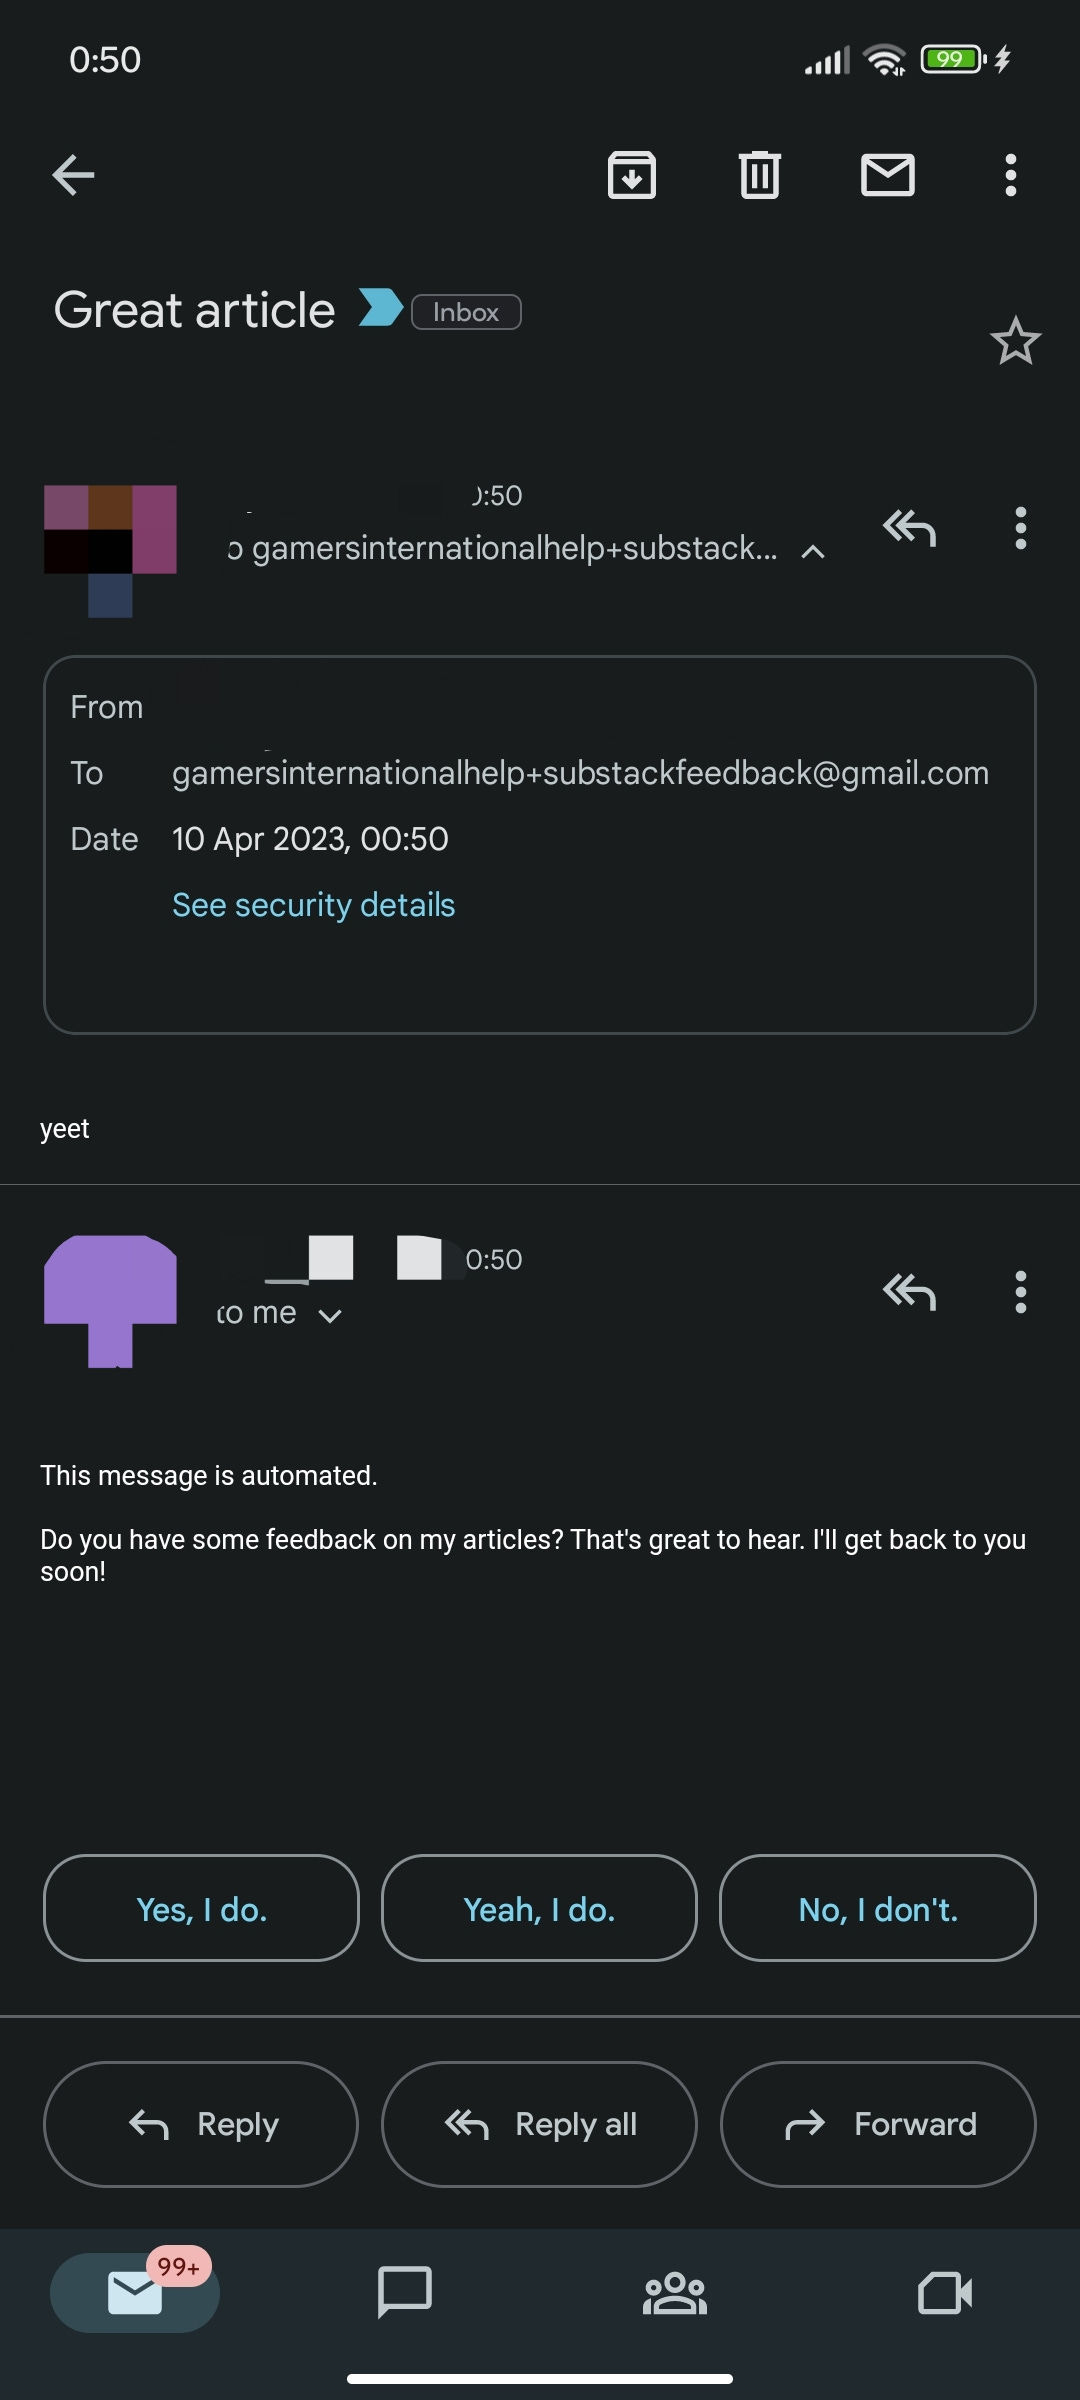
The results
subscribe to my blog pls


